Working with the Image Area
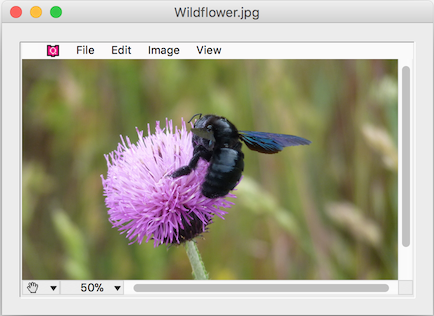
In the old QPix, the menubar and controls for tool selection and zoom were actually part of the plug-in area:
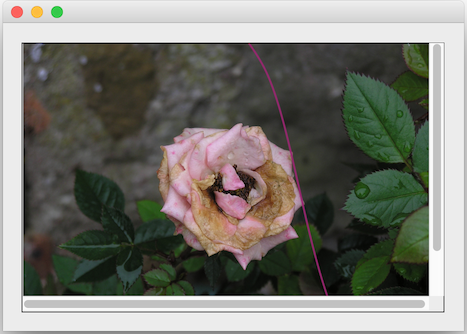
In Q2Pix the plug-in area is surprisingly plain: a bare-bones scrollable, zoomable area which only displays images:
In case you wonder where have the menubar and tools gone in Q2Pix, you’ll be glad to
know that these and much more are now implemented in pure 4D in the Q2ImgControl
component and subform:
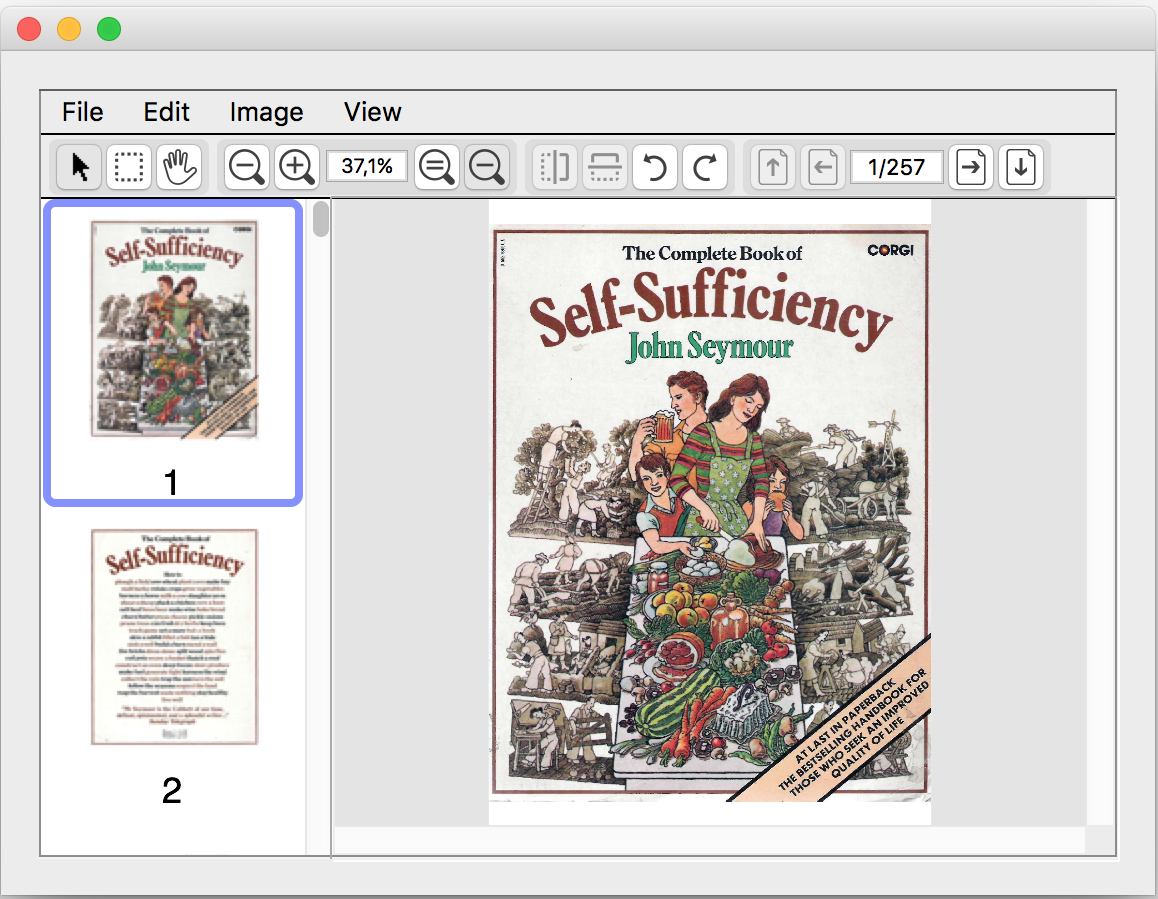
While the ImgControl subform provides a very rich viewer interface with
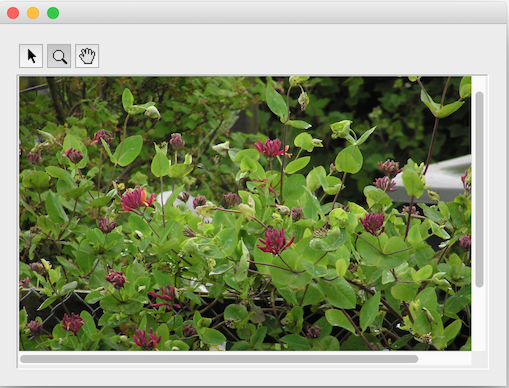
editing capabilities, you don’t need to use them if all you want is a plain display area.
In such cases, using just the ImgArea plug-in area is the way to go. Put up a plain
plug-in area and you’re done. You may add a couple of buttons too if you have to:
Manage area content
To display an image document in the plug-in area, assign the document reference to the area – οptionally the frame too, if it’s a multi-page document and you want to display a page other than the first one.
C_LONGINT(xImageArea)   // The plug-in area reference
C_TEXT($imgDocRef)   // The image document reference

   // ...

   // Assign the image document and display the second frame
ImgArea_SetDocument (xImageArea;$imgDocRef;2)
The following example shows how to retrieve the document reference and display the last frame.
C_LONGINT(xImageArea)   // The plug-in area reference

   // ...

C_TEXT($imgDocRef)
$imgDocRef:=ImgArea_GetDocument (xImageArea)   // Get the document

C_LONGINT($frameCount)
$frameCount:=ImgDoc_GetFrameCount ($imgDocRef)

ImgArea_SetFrameIndex (xImageArea;$frameCount)

   // Finally release the document
ImgObj_Release ($imgDocRef)
Area tools
The plug-in area provides the following tools, one of which one may be active (the current tool):
The pointer tool (default)
The marquee tool
To select rectangular regions on the displayed frame.
The zoom tool
To click-zoom in or out (with the Shift key held down).
The hand tool
To grab-scroll (pan).
To select a tool programmatically, call ImgArea_SetTool.
C_LONGINT(xImageArea)   // The plug-in area reference

   // ...

   // Select the zoom tool
ImgArea_SetTool (xImageArea;kImgAreaZoomTool)
Zooming
Area zoom is defined by the zoom factor. When the zoom factor is equal to 1.0,
the image displays at 100%, i.e. its natural size.
There are several ways for controlling the zoom factor:
Click with the zoom tool
When zooming-in, the zoom factor is multiplied by the zoom rate (1.25 by default).
When zooming out (when the user clicks with Shift key down), the zoom factor is divided by
the zoom rate. The zoom rate can be modified via the area properties.
Directly via code
The zoom factor can be set explicitly by calling ImgArea_SetZoomFactor.
This example sets the area zoom to 200%:
C_LONGINT(xImageArea)   // The plug-in area reference

   // ...

   // Set zoom to 200%
ImgArea_SetZoomFactor (xImageArea;2)
The auto-zoom mode
This mode forces the image to fit the area horizontally, vertically, or both, by calling
ImgArea_SetAutoZoom. In this mode the zoom factor is adjusted automatically
In the following example the area zoom is set to fit to the current size of the image area:
C_LONGINT(xImageArea)   // The plug-in area reference

   // ...

   // Zoom to fit
ImgArea_SetAutoZoom (xImageArea;kImgAreaAutoZoomToFit)
Auto-zoom can be made sticky, i.e. to persistently keep the specified fit as the plug-in area is resized:
C_LONGINT(xImageArea)   // The plug-in area reference

   // ...

   // Sticky zoom to fit
ImgArea_SetAutoZoom (xImageArea;kImgAreaAutoZoomToFit | kImgAreaAutoZoomSticky)
The sticky auto zoom mode is cancelled when either the user clicks with the zoom tool,
or another call to ImgArea_SetZoomFactor or ImgArea_SetAutoZoom
modifies the zoom factor.
Marquee selection
With the marquee tool the user can select a rectangular region of the displayed image. The
selected rectangle can be retrieved with a call to ImgArea_GetPixelSelection
for raster images or to ImgArea_GetPointSelection for both raster frames
and PDF pages.
The following example crops the raster image to the user selection:
C_LONGINT(xImageArea)   // The plug-in area reference

   // ...

C_OBJECT($pixelSelection)
$pixelSelection:=ImgArea_GetPixelSelection (xImageArea)
If (OB Is defined($pixelSelection))

   C_TEXT($rasterDocRef)
   $rasterDocRef:=ImgArea_GetDocument (xImageArea)   // Get the raster document

   C_LONGINT($frameIdx)
   $frameIdx:=ImgArea_GetFrameIndex (xImageArea)   // Get the frame index

      // Crop filter params
   C_OBJECT($filterParams)
   OB SET($filterParams;"Rectangle";$pixelSelection)

   RasterFrame_PushFilter ($rasterDocRef;$frameIdx;"Crop";$filterParams)

   ImgObj_Release ($rasterDocRef)   // No longer needed

End if
The selection rectangle can also be set programmatically. Here’s some example code that selects the top-left quarter of the image.
C_LONGINT(xImageArea)   // The plug-in area reference

   // ...

C_TEXT($imgDocRef)
$imgDocRef:=ImgArea_GetDocument (xImageArea)   // Get the image document

C_LONGINT($frameIdx)
$frameIdx:=ImgArea_GetFrameIndex (xImageArea)   // Get the frame index

   // Get the frame point size
C_OBJECT($pointSize)
$pointSize:=ImgFrame_GetPointSize ($imgDocRef)

   // The top-left quarter of the frame
C_OBJECT($pointSelection)
$pointSelection:=RectObj_New (0;0;\
   SizeObj_GetWidth ($pointSize)/2;\
   SizeObj_GetHeight ($pointSize)/2)

   // Select the marquee tool
ImgArea_SetTool (xImageArea;kImgAreaMarqueeTool)

   // Set the selection
ImgArea_SetPointSelection (xImageArea;$pointSelection)

ImgObj_Release ($imgDocRef)   // No longer needed
Area properties
The image area exposes the following properties:
| Property name | Type | Default | Description |
|---|---|---|---|
SelectionVisible |
Boolean |
True if the marquee selection is currently visible, False otherwise. Read-only. |
|
ZoomFactorRange |
object |
The option’s value specifies the minimum and maximum zoom factors. See the table below for details on the object contents of this property. | |
DefaultZoom |
object |
The option’s value specifies the default zoom mode and factor when an image document is assigned to the plug-in area. See the table below for details on the object contents of this property. | |
ZoomToolRate |
Real |
1.25 |
The option’s value specifies the zoom tool rate. The zoom tool rate is the number with which the current zoom factor is multiplied when zooming in with the zoom tool. Conversely, the current zoom factor is divided by the zoom rate when zooming out. |
UseHorzScrollbar |
Boolean |
True |
Whether to use the horizontal scrollbar or not. |
UseVertScrollbar |
Boolean |
True |
Whether to use the vertical scrollbar or not. |
AutoHideScrollbars |
Boolean |
True |
Whether to hide the scrollbars when the displayed image size fits the usable space on the corresponding axis. |
DefaultHorzAlignment |
Longint |
0 |
How to align the image in the display area when the image width is greater that the area width. Set to |
DefaultVertAlignment |
Longint |
0 |
How to align the image in the display area when the image height is greater that the area height. Set to |
The contents of the ZoomFactorRange property object are described in the following table.
| Property name | Type | Default | Description |
|---|---|---|---|
Minimum |
Real |
0.02 |
The option’s value specifies the minimum zoom factor of the plug-in area. |
Maximum |
Real |
50.0 |
The option’s value specifies the maximum zoom factor of the plug-in area. |
The contents of the DefaultZoom property object are described in the following table.
| Property name | Type | Default | Description |
|---|---|---|---|
ZoomFactor |
Real |
1.0 |
The option’s value specifies the plug-in area’s default zoom factor. If the |
AutoZoom |
Longint |
0 |
The option’s value specifies the plug-in area’s default auto-zoom mode. If set to a valid auto-zoom mode, the specified mode is applied to the
plug-in area when a document is assigned to it. If set to |
The image area properties can be accessed via the ImgArea_GetProperty
and ImgArea_SetProperty methods.
For example, to set up the area with zoom to fit by default, change the DefaultZoom property:
C_LONGINT(xImageArea)   // The plug-in area reference

   // ...

C_OBJECT($defaultZoomProp)
OB SET($defaultZoomProp;"AutoZoom";kImgAreaAutoZoomToFit)
OB SET($defaultZoomProp;"ZoomFactor";1)   // Does not really matter here

ImgArea_SetProperty (xImageArea;"DefaultZoom";->$defaultZoomProp)
Here is another example that sets the default image alignment in the area to top-left:
C_LONGINT(xImageArea)   // The plug-in area reference

   // ...

C_LONGINT($horzAlignment;$vertAlignment)
$horzAlignment:=-1
$vertAlignment:=-1

ImgArea_SetProperty (xImageArea;"DefaultHorzAlignment";->$horzAlignment)
ImgArea_SetProperty (xImageArea;"DefaultVertAlignment";->$vertAlignment)