Working with the Image Control
The ImgControl widget is a 4D subform that manages a ImgArea plug-in area to provide a rich user interface
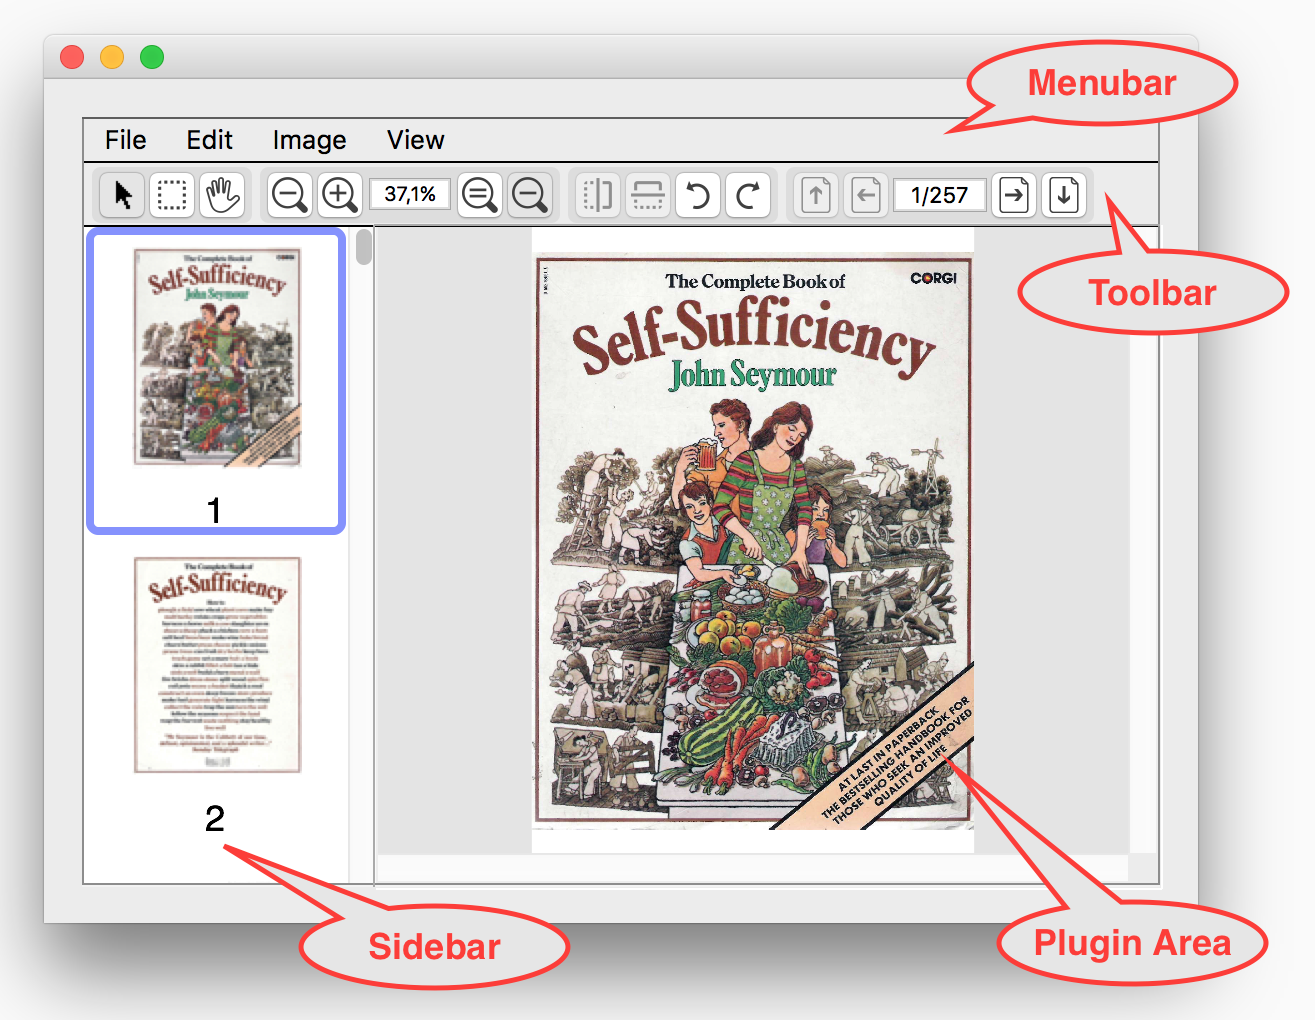
for viewing and manipulating images. This is how it looks with real content and these are its standard interface elements:

The Image Control is implemented in the Q2ImgControl component. The Image Control comprises the Menu bar, the Toolbar and the Sidebar. It consists of a 4D subform and a set of related component methods.
These are the steps required to implement the ImgControl widget in a 4D form:
- Place the widget and plug-in area objects on the form and properly set up their properties.
- Add some standard code to the form and object methods.
- Use component method calls to assign and retrieve content to and from the widget.
Setting up the form objects
Add a subform object
Use the form editor’s subform tool to create a subform object: this will be your ImgControl
widget.
Set the subform’s name to something meaningful. The name will be used to address the control with component methods.
In this example name the subform "img_viewer".
Set the subform object properties as indicated below:
| ImgControl properties | ||
|---|---|---|
| Object Properties | Type | Subform |
| Object Name | img_viewer | |
| Variable Name | <Blank> | |
| Variable Type | String | |
| Subform Properties | Output subform | Unchecked |
| Detail form | ImgControl | |
| Automatic Width | Unchecked | |
| Appearance | Horizontal Scroll Bar | Unchecked |
| Vertical Scroll Bar | Unchecked | |
| Events | On Load | Checked |
| On Unload | Checked | |
To make the control resizable, adjust the options in the Resizing Options group.
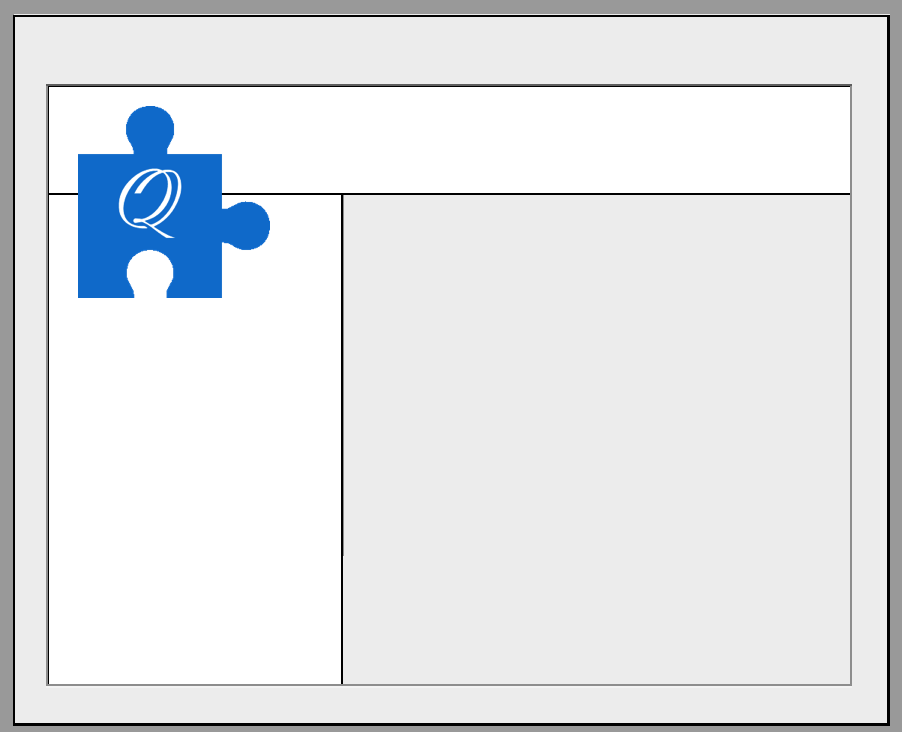
The image control should now look like this:

Add the plug-in area
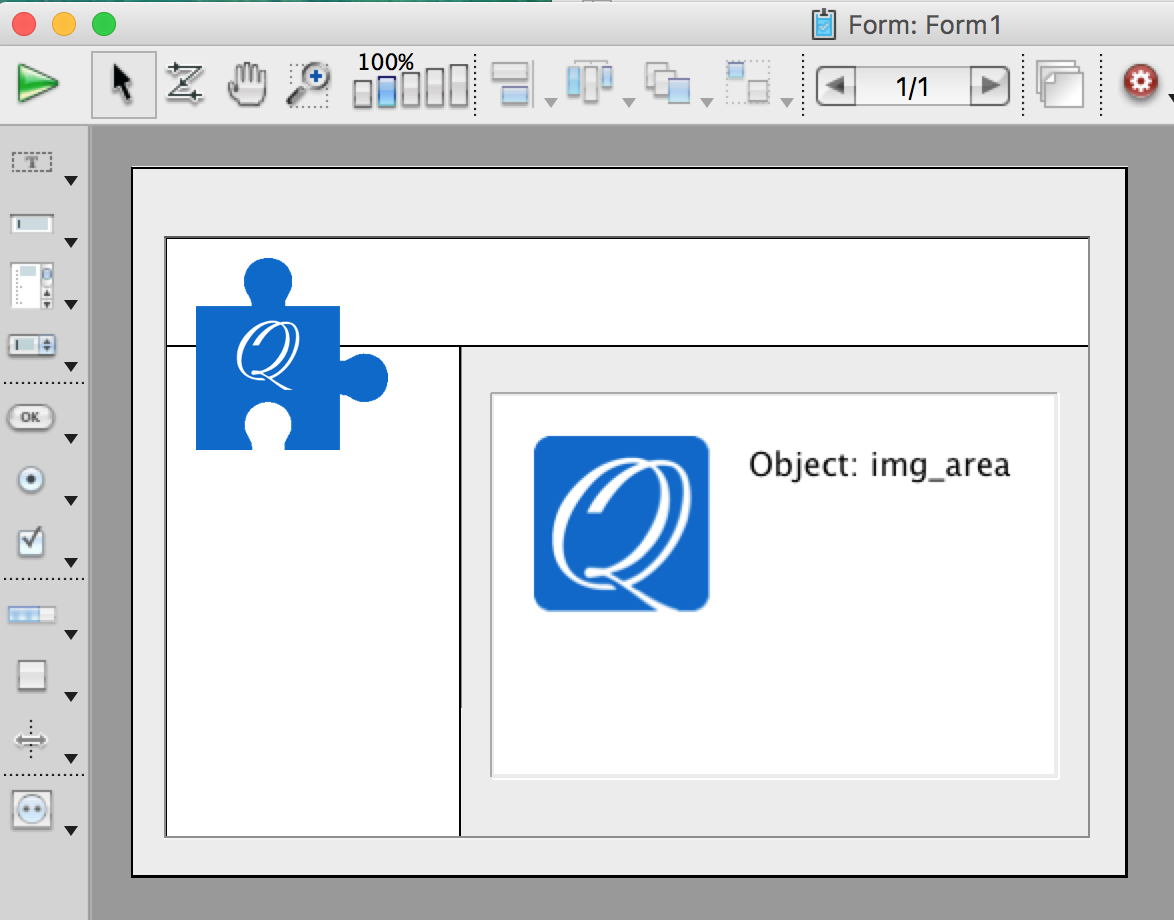
Use the plug-in area tool to create a plug-in area object over the ImgControl widget.
There’s no need to align the plug-in area with the subform – it will be properly placed and sized automatically during runtime:

Set the plug-in area name to something meaningful. The name will be used to bind the plug-in area to the ImgControl object. In this example name it "img_area".
Set the plug-in area properties as indicated below:
| Plug-in area properties | ||
|---|---|---|
| Object Properties | Type | ImgArea |
| Object Name | img_area | |
| Variable Name | <Blank> | |
| Resizing options | Horizontal Sizing | Grow |
| Vertical Sizing | Grow | |
| Events | On Plug in Area | Checked |
Configure form events
Make sure that the following events are enabled in the form properties:
| Form properties | ||
|---|---|---|
| Events | On Load | Checked |
| On Unload | Checked | |
| On Timer | Checked | |
| On Resize | Checked | |
Add standard code
Now that the ImgControl object, plug-in area, and host form are properly
set up in the form editor, add the code required for bringing the widget to life:
- Initialize and cleanup the widget.
- Service plug-in area events and internal
ImgControlmessages.- Update the widget and plug-in area when the form is resized.
- Manage the
ImgControlconfiguration and visibility of its parts.- Assign content to the widget.
Set the plug-in area method
1 2 3 4 5 6 7 8 9 | C_LONGINT($event) $event:=Form event Case of : ($event=On Plug in Area) ImgControl_PluginAreaEvent ("img_viewer") End case |
The ImgControl widget needs to be notified of plug-in area events in order
to update its state in response to user actions such as selection with the
marquee tool. That’s what the ImgControl_PluginAreaEvent method does.
Set the ImgControl object method
1 2 3 4 5 6 7 8 9 | C_LONGINT($event) $event:=Form event Case of : ($event=kImgControlMessage) ImgControl_ProcessMessages ("img_viewer") End case |
The ImgControl widget uses an internal messaging system that lets internal form objects
and subforms communicate with code that runs in the context of the host form. The
main mechanism for delivering such messages is the CALL SUBFORM CONTAINER 4D method.
The ImgControl_ProcessMessages call lets the widget
process any pending messages, a behavior that is vital for its proper operation.
Set the form method
1 2 3 4 5 6 7 8 9 10 11 12 13 14 15 16 17 18 19 20 21 22 23 24 25 26 27 28 29 30 31 32 33 | C_LONGINT($event) $event:=Form event Case of : ($event=On Load) If (ImgControl_Initialize ("img_viewer";"img_area")=1) ImgControl_Setup ("img_viewer") // ... // ... assign content to the widget // ... End if : ($event=On Unload) ImgControl_Finalize ("img_viewer") : ($event=On Timer) C_LONGINT($msgCount) $msgCount:=ImgControl_ProcessMessages ("img_viewer") If (($msgCount)=0) SET TIMER(0) End if : ($event=On Resize) ImgControl_UpdateLayout ("img_viewer") End case |
The call to ImgControl_Initialize during the On Load event initializes
the ImgControl context and is balanced with ImgControl_Finalize
during the On Unload event.
Once the ImgControl is initialized, it is set to the default configuration with
the call to ImgControl_Setup.
The code during the On Timer event services the control’s internal messaging system,
which is vital for the widget’s operation. The timer event is cancelled if there
are no pending messages.
During the On Resize event ImgControl_UpdateLayout is called
to update the control’s layout.
Configuration
The ImgControl widget is configured with a 4D object typically coming from
a JSON file stored in the database’s Resources folder. The configuration object
describes the control parts: menubar, toolbar, and sidebar.
The control is typically assigned a configuration during the On Load
form event, but can also be reconfigured during runtime. It is possible to
change the appearance and functionality of the control dymanically.
The configuration object is assigned to the control by calling either
ImgControl_Setup or ImgControl_SetupWithConfig.
The ImgControl_Setup method accepts the configuration
object directly as a parameter. If the object parameter is omitted, or an
undefined object is passed, the method looks for file Q2Pix/Q2ImgControl/Configs/<object name>.json
in the database’s Resources folder (<object name> is the name of the subform object).
If the file exists, the configuration is loaded from the JSON file.
Otherwise, the built-in configuration is loaded from the component’s resources (as in the form method above).
The ImgControl_SetupWithConfig method accepts the <config name> as a parameter
and looks for Q2Pix/Q2ImgControl/Configs/<config name>.json
in the host database’s Resources folder. If the file exists,
the ImgControl configuration is loaded from that file.
If not, configuration is delegated to ImgControl_Setup.
Note
The ImgControl widget is still under development. The format of the JSON configuration object
and the way in which the control can be customized and extended will be finalized
and documented in a subsequent beta. For now have a look at the configuration files
in the component and demo database’s Resources folder, make a copy, and cut/paste
parts to your liking.
The visibility of ImgControl parts can be controlled during runtime with the following methods:
Assign content
There is a number of component methods for assigning content to the control:
ImgControl_SetDocument- Set the content using a document reference.
ImgControl_SetImageFile- Set the content using a file path.
ImgControl_SetImageBLOB- Set the content using a BLOB.
ImgControl_SetPicture- Set the content using a picture.
The image frame index can be controlled with ImgControl_GetFrameIndex and
ImgControl_SetFrameIndex.
The image document currently assigned to the control can be retrieved with
ImgControl_GetDocument.
Important
Always manage the control’s content using one of the above component methods,
instead of addressing the ImgArea plug-in area directly! The component methods
automatically perform all needed tasks, such as update the internal state of the control,
and the user interface.
